Rainwater harvesting is not just a smart way to conserve water—it’s also a fun, eco-friendly project you can tackle yourself! Installing a rain barrel system is like giving your garden a gift from the skies, capturing nature’s bounty one drop at a time. Whether you’re a seasoned DIYer or a curious beginner, setting up your own rain barrel will have you dancing in the rain (or at least smiling every time it fills up). Ready to get started? Let’s dive into the tools and materials you’ll need and then jump into the satisfying step-by-step setup!
Gather Your Gear: Tools and Materials to Start Right
Before you channel your inner rain wizard, it’s essential to arm yourself with the right gear. First up, you’ll need a sturdy rain barrel—these come in various sizes and styles, from rustic wooden barrels to modern plastic containers specifically designed for rainwater harvesting. You can repurpose an old food-grade barrel too, giving new life to something that might otherwise end up in the landfill. Don’t forget to pick a lid to keep out debris and pesky mosquitoes!
Next, gather the key components to connect your barrel to your home’s downspout. This usually includes a downspout diverter or a flexible PVC pipe, a screen or filter to keep leaves and twigs out, and a spigot for easy water access. You’ll also want some sealant or plumber’s tape to keep everything watertight and prevent leaks. The right connectors and fittings will make all the difference, so take a moment to ensure compatibility with your barrel and downspout.
Finally, round out your toolkit with basic hand tools: a drill, a hole saw bit to punch holes in your barrel, a screwdriver, a hacksaw or tin snips to trim the downspout if needed, and a level to keep everything balanced. By prepping your workspace and laying out all your tools and materials, you’ll set yourself up for success—no scrambling or missing parts mid-project! Now that you’re ready, it’s time to turn those rainy days into garden gold.
Step-by-Step Setup: From Downspout to Full Barrel Fun
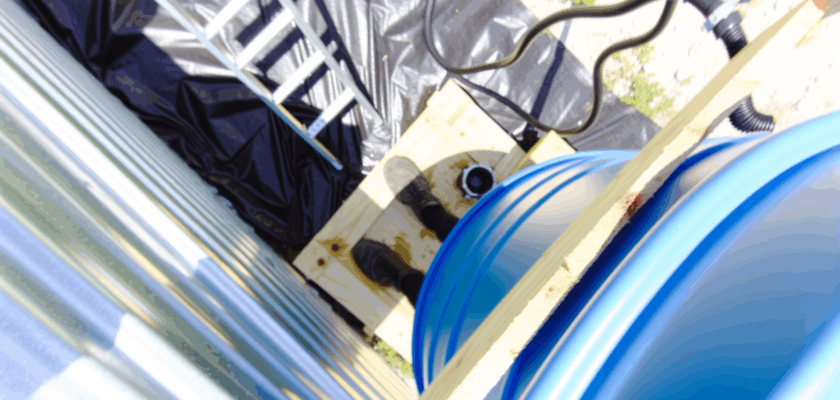
Start by positioning your rain barrel on a level, stable surface—cement blocks or a wooden platform work perfectly to elevate the barrel for better water flow and easy bucket-filling. Next, measure and mark where you want to cut the barrel for the spigot and the inlet where the rainwater will enter. Remember, the inlet goes at the top, and the spigot near the bottom to maximize water storage and discharge.
With your measurements in hand, carefully drill the holes using the appropriate size bit or hole saw. Insert the spigot and securely seal around it with plumber’s tape or waterproof silicone to prevent leaks. Attach the downspout diverter or cut and connect your PVC pipe so that rainwater flows smoothly from your gutter into the barrel while excess water is redirected away from your foundation.
Lastly, add a screen or mesh to the inlet to stop debris and mosquitoes from invading your water supply. Test your system during the next rainstorm and watch happily as the barrel fills up! With a simple turn of the spigot, you’ll be ready to water your plants, wash your car, or cool off on a hot day—all while giving Mother Earth a big, grateful hug.
Installing a rain barrel system yourself is a delightful way to harness the power of nature and reduce your water footprint. With just a little preparation and elbow grease, you’ll transform ordinary rainfall into a sustainable resource that keeps your garden thriving and your conscience clear. So grab your tools, embrace the rain, and join the many happy rainwater harvesters turning showers into showers of savings. Happy harvesting!